Tile is tough — but it isn’t indestructible.
Cracks can occur if the installation method was not done properly. For example, sub floor movement can cause cracking as the wooden floor under the tile shifts, passing that stress through to the tile above. While a fairly common occurrence, the problem can be mitigated by using an underlayment membrane such as MAPEI’s Mapeguard UM. As a bonus, Mapeguard UM also provides waterproofing to the installed area.
Tile that is installed with “globs” of mortar or thin-set instead of fully back buttering the tile can cause cracking as the hollow areas under the tile are not supported and can break when weight is applied. In any case, tile cracks can occur at some point, and it’s handy to know how to fix the problem if they do.
The biggest challenge when faced with tile cracks is finding a matching replacement. You likely have a few leftover tiles from when you first had them laid (the reason you add the 10-15% extra to the original tile measurement). If not, visit Tiles Unlimited to find a good match for your tile and grout — we carry the largest tile selection in Queens and our experts can assist you in finding the best fit for both. If possible, bring in the box the tile came in or your purchase invoice to make matching the tile fast and easy.

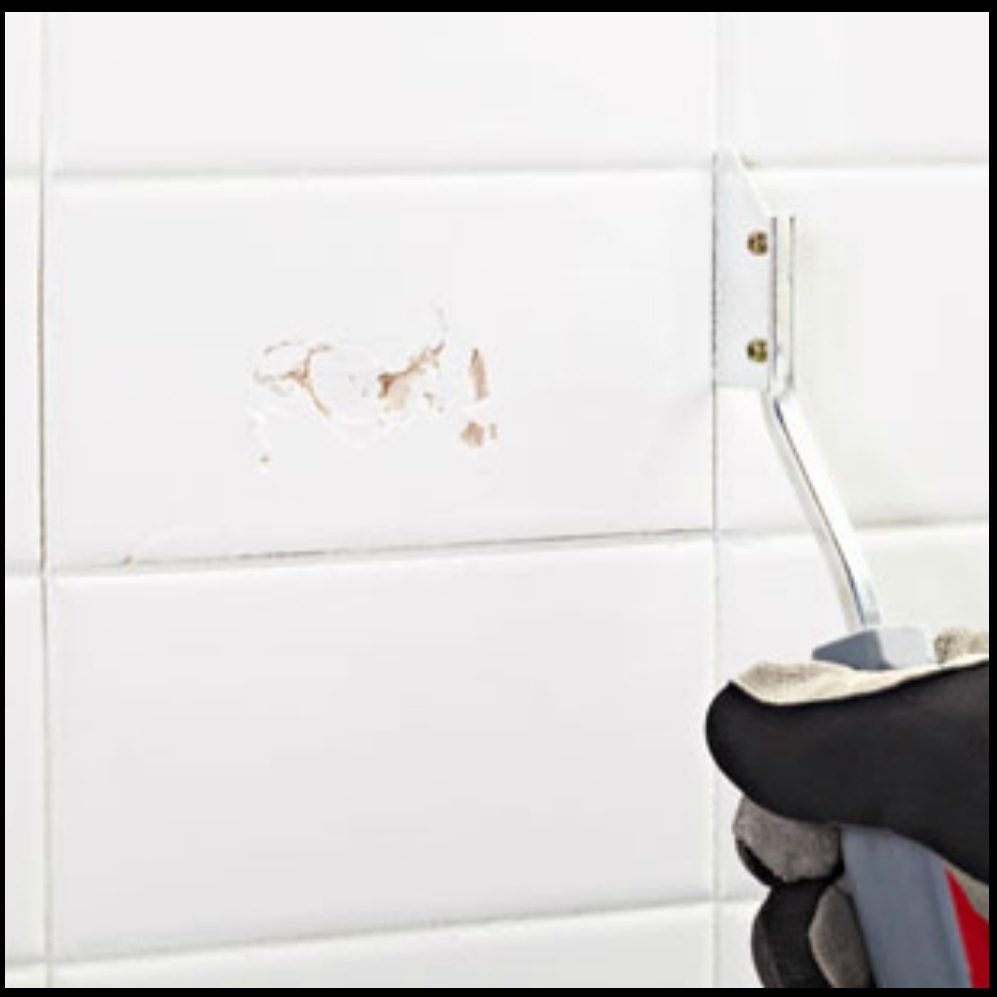
- Once you have a suitable replacement for your damaged tile, you can begin by carefully chipping out the grout with a small chisel and hammer. Removing the grout first will allow you the space around the cracked tile to avoid damaging the ones around it. Make sure you wear safety glasses and gloves for protection.
- Next, chip the tile away carefully with the same chisel and hammer, starting from the center of the tile and working your way out to the four sides. Take your time and do your best not to pry against the surrounding tiles so that you don’t accidently chip or crack them too!
- Use a floor scraper to properly remove any extra bits of tile or mortar that are stuck to the subfloor. Ensure the area is clean and smooth to form a flat, clean surface for your new tile.
- Apply polymer modified thin-set such as MAPEI’s Ultraflex 2 to the floor using the appropriately sized trowel, as well as fully back butter the back of the new tile. Set the new tile in the appropriate position. Allow it to set for the required time (usually 24 hours) and then mix and apply matching grout between your new tile and the surrounding ones.
- Avoid walking on your new tile for at least 24 hours after grouting.

Tiles Unlimited, dual winner in the 2017 Best of the Boro Competition (Best Tile Store & Best Kitchen & Bath Store) is always ready to assist you with whatever tile needs may arise. Our expert staff can explain additional tips and tricks for dealing with tile cracks and other related issues. We’re only a phone call or visit away. QNS.com readers can save up to $600 off tile and get a free tile cleaner by clicking here.


